How to Use Obsidian as a CMS with Astro.js: Complete Setup Guide

Table of Contents
- Introduction
- Why Choose This Combination?
- Setup Overview
- Step 1: Setting Up Your Environment
- Step 2: Creating the Astro Project
- Step 3: Setting Up Obsidian
- Step 4: Connecting Obsidian to Astro with Symlinks
- Step 5: Configuring Essential Obsidian Plugins
- Step 6: Creating Content Templates
- Step 7: Image Handling and Optimization
- Step 8: Complete Content Creation Workflow
- Step 9: Deployment Strategies
- Troubleshooting Common Issues
- Advanced Techniques
- Alternative Approaches
- Conclusion
Introduction
Creating and maintaining a personal website should be simple, intuitive, and enjoyable. For markdown enthusiasts who love organizing knowledge in Obsidian, having to switch to another system for website content can feel inefficient and frustrating.
This guide shows you how to use Obsidian as a Content Management System (CMS) for an Astro.js website, combining Obsidian’s powerful note-taking capabilities with Astro’s performance and flexibility.
By the end of this guide, you’ll have a seamless workflow where content created in Obsidian automatically powers your Astro website, with no copy-pasting or manual file transfers required.
Why Choose This Combination?
Obsidian’s Strengths
- Powerful markdown editor with preview, backlinks, and graph view
- Local-first approach keeping you in control of your content
- Rich plugin ecosystem extending functionality for content creation
- Knowledge graph helping you connect ideas across your content
- Great writing experience with distraction-free mode and customizable interface
Astro’s Strengths
- Extremely fast static site generation with minimal JavaScript
- Content-focused architecture ideal for blogs and documentation
- Framework-agnostic approach allowing use of any UI components
- Excellent markdown support with built-in processing and frontmatter
- Modern developer experience with hot reloading and TypeScript support
Why Not Use Alternatives?
While solutions like Obsidian Publish, Flowershow, and Digital Garden exist, they come with limitations:
- Obsidian Publish costs $20/month and offers limited customization
- Flowershow requires following specific conventions and configuration
- Digital Garden is tied to specific templates and deployment methods
This approach gives you:
- Complete design freedom with no restrictions on theming or layout
- Full technology control to add any functionality you need
- No recurring costs beyond basic hosting (which can be free)
- Simplified workflow maintaining content in a single place
Setup Overview
Here’s what we’ll be building:
- An Astro.js website with content and assets folders
- An Obsidian vault linked to those folders via symlinks
- A set of Obsidian plugins configured for optimal content creation
- A seamless workflow from idea to published website
Prerequisites:
- Basic familiarity with terminal/command line
- Node.js and npm installed (v16.12.0 or higher recommended)
- Obsidian installed (Download here)
- A code editor like VS Code (for Astro configuration)
Step 1: Setting Up Your Environment
Before we begin, let’s make sure your development environment is ready.
Installing Node.js (if not already installed)
Astro requires Node.js. For Mac users, I recommend using Homebrew:
# Install Homebrew if not already installed
/bin/bash -c "$(curl -fsSL https://raw.githubusercontent.com/Homebrew/install/HEAD/install.sh)"

# Install Node.js
brew install node
Verify the installation:
node -v
npm -v
You should see version numbers for both commands.
Step 2: Creating the Astro Project
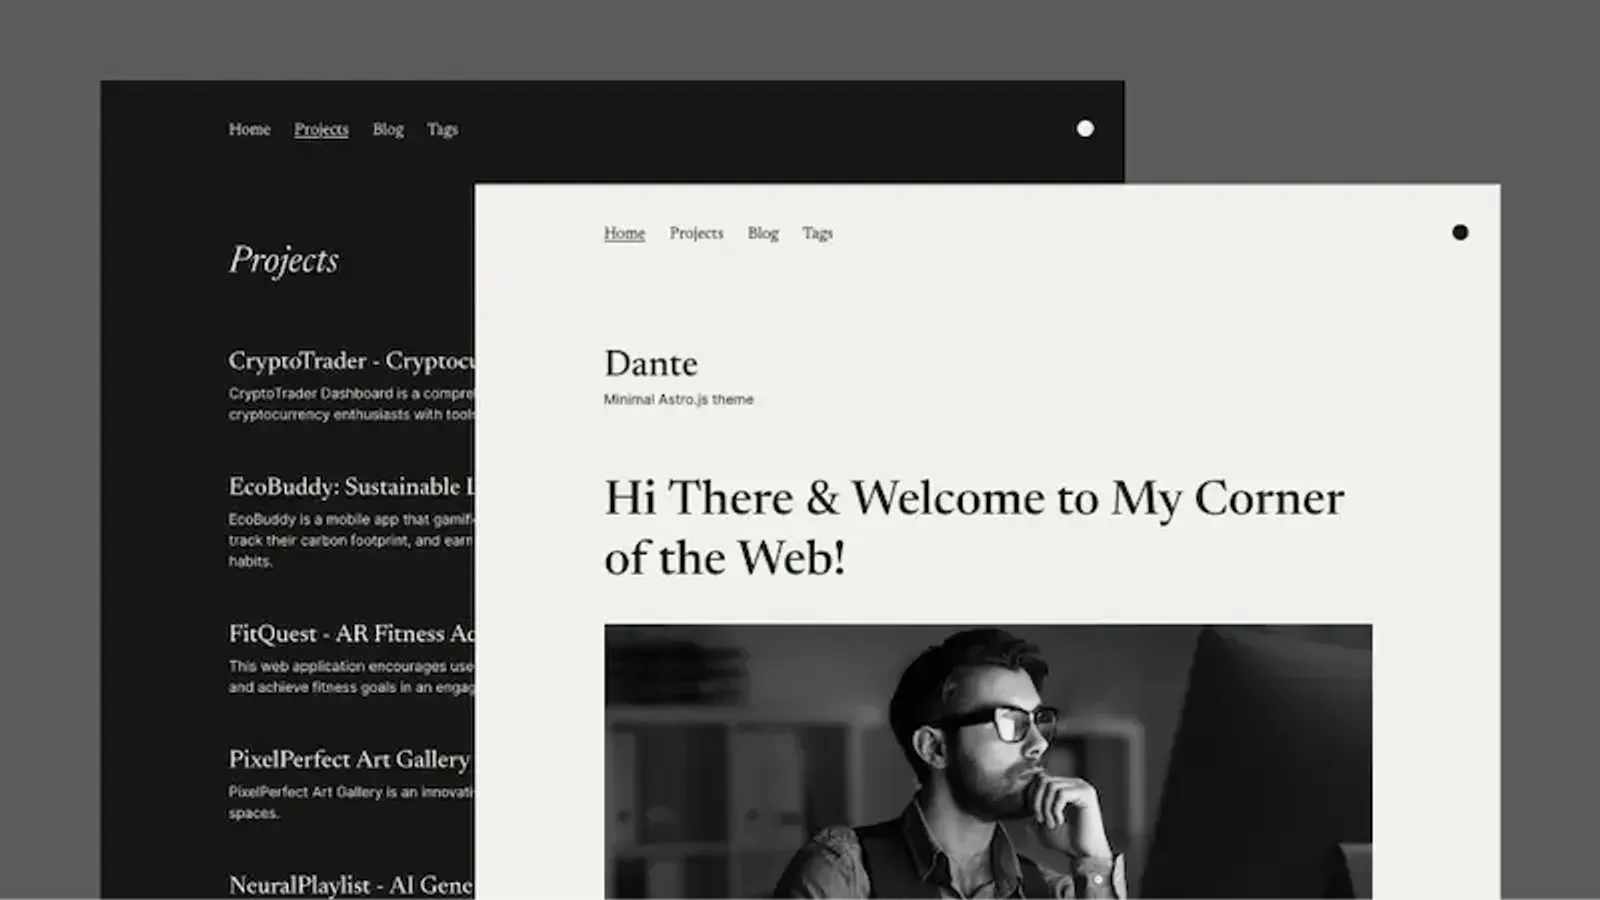
Now, let’s create a new Astro project. For this guide, I’m using Dante, a minimal single-author blog theme for Astro.js.
Option A: Create a new Astro project from scratch
# Navigate to where you want to create your project
cd ~/Documents

# Create a new Astro project
npm create astro@latest my-obsidian-blog

# Follow the prompts to set up your project
# When asked to choose a template, select a blog template
Option B: Use the Dante theme (recommended for blogs)

# Navigate to where you want to create your project
cd ~/Documents

# Create a new project using the Dante theme
npm create astro@latest my-obsidian-blog -- --template JustGoodUI/dante-astro-theme

# Navigate into the project folder
cd my-obsidian-blog

# Install dependencies
npm install
Start the development server
Let’s make sure everything is working:
npm run devVisit http://localhost:4321 in your browser. You should see your new Astro site running!
Screenshot of a new Astro site running locally]../../assets/wonderings/Obsidian%20-%20Astro%20JS/new-astro-site.webp)
Step 3: Setting Up Obsidian
Now that we have our Astro project, let’s set up Obsidian to work with it.
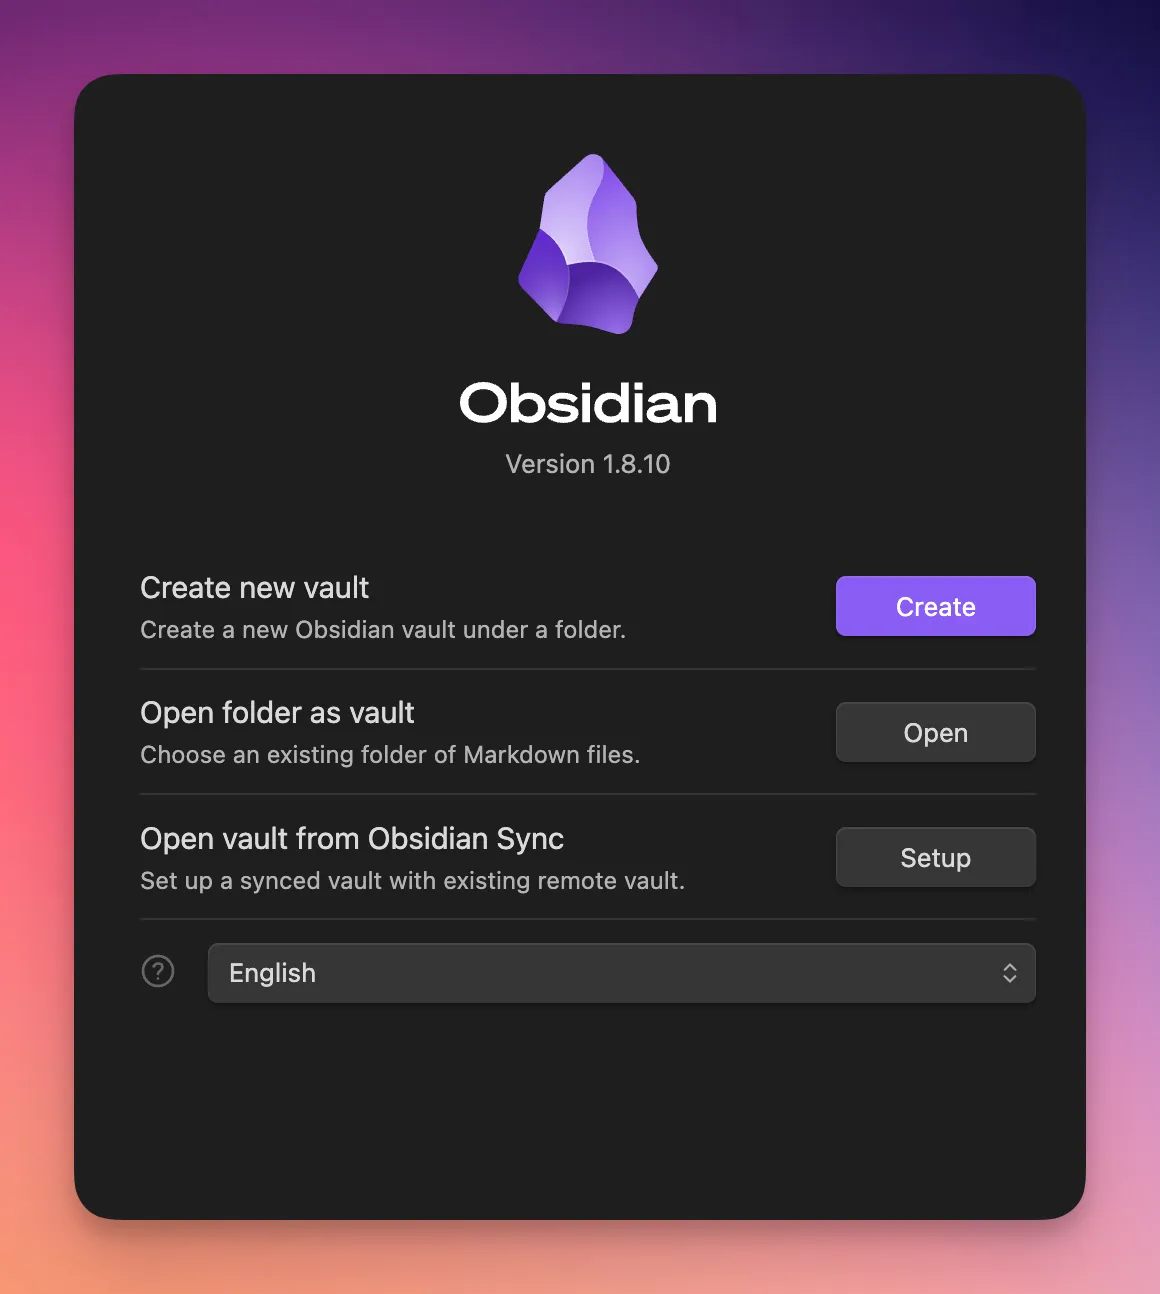
Create a new Obsidian vault
- Open Obsidian
- Click “Create new vault”
- Name it something related to your website (e.g., “My Blog Vault”)
- Choose a location for your vault (I recommend keeping it separate from your Astro project)
- Click “Create”

Configure basic Obsidian settings
For optimal compatibility with Astro:
- Go to Settings (gear icon in the bottom-left)
- Navigate to “Files & Links”
- Set “Default location for new notes” to “In the folder specified below” and choose a folder like “Notes”
- Ensure “Use [[Wikilinks]]” is enabled (this is the default)
- Set “Default location for new attachments” to “In the folder specified below” and create a path like “Attachments”
Step 4: Connecting Obsidian to Astro with Symlinks
This is where the magic happens! We’ll create symbolic links (symlinks) that connect your Obsidian vault to your Astro project.
⚠️ Important Warning About Symlinks
Obsidian officially states that they “strongly advise against using symbolic links” as they may risk data loss, corruption, or application crashes. While the approach in this guide has worked reliably for many users, you should be aware of the following limitations:
- Symlinks may not work well with sync services (including Obsidian Sync)
- Symlink targets must be completely separate from the vault root
- You cannot move files across device boundaries using Obsidian’s file explorer
- Changes to files made outside Obsidian might not be immediately detected
To minimize risks:
- Always maintain regular backups of your content
- Avoid complex nested symlink structures
- Consider alternative approaches (like the sync script mentioned later) if you experience issues
For more details, see Obsidian’s official documentation on symbolic links.
Understanding the folder structure
In a typical Astro project, content is stored in:
/contentfolder for blog posts and pages/publicor/src/assetsfolder for images and other media
We’ll create symlinks to these folders within our Obsidian vault.
Creating symlinks on macOS
Open Terminal and run the following commands. Be sure to replace the paths with your actual project and vault paths:
# Navigate to your Obsidian vault
cd ~/Documents/My\ Blog\ Vault

# Create a symlink to the Astro content folder
ln -s ~/Documents/my-obsidian-blog/src/content content

# Create a symlink to the Astro assets folder
ln -s ~/Documents/my-obsidian-blog/src/assets assets
These commands create symbolic links named content and assets in your Obsidian vault, pointing to the corresponding folders in your Astro project.
Terminal showing symlink creation commands](../../assets/wonderings/Obsidian%20-%20Astro%20JS/terminal-symlinks.webp)
Verifying the symlinks
After creating the symlinks, return to Obsidian. You should now see content and assets folders in your vault. Any changes you make to files in these folders will directly affect your Astro project!
Obsidian interface showing the symlinked folders](../../assets/wonderings/Obsidian%20-%20Astro%20JS/obsidian-with-symlinks.webp)
Step 5: Configuring Essential Obsidian Plugins
To enhance your content creation workflow, we’ll set up several key Obsidian plugins.
Installing Community Plugins
First, enable community plugins in Obsidian:
- Go to Settings → Community plugins
- Turn off “Restricted mode”
- Click “Browse” to access the community plugin browser
Plugin 1: Templater
Templater allows you to create templates with variables for consistent frontmatter, which is crucial for Astro.
- Search for “Templater” in the community plugins browser
- Click “Install”, then “Enable”
- Go to Templater settings
- Set the “Template folder location” to a new folder (create a folder called
templatesin your vault)
Now, create a template file at templates/TMP-Blog.md with the following content:
---
title:
excerpt:
publishDate: <%tp.date.now("YYYY-MM-DD")%>
draft: true
isFeatured: false
tags:
---
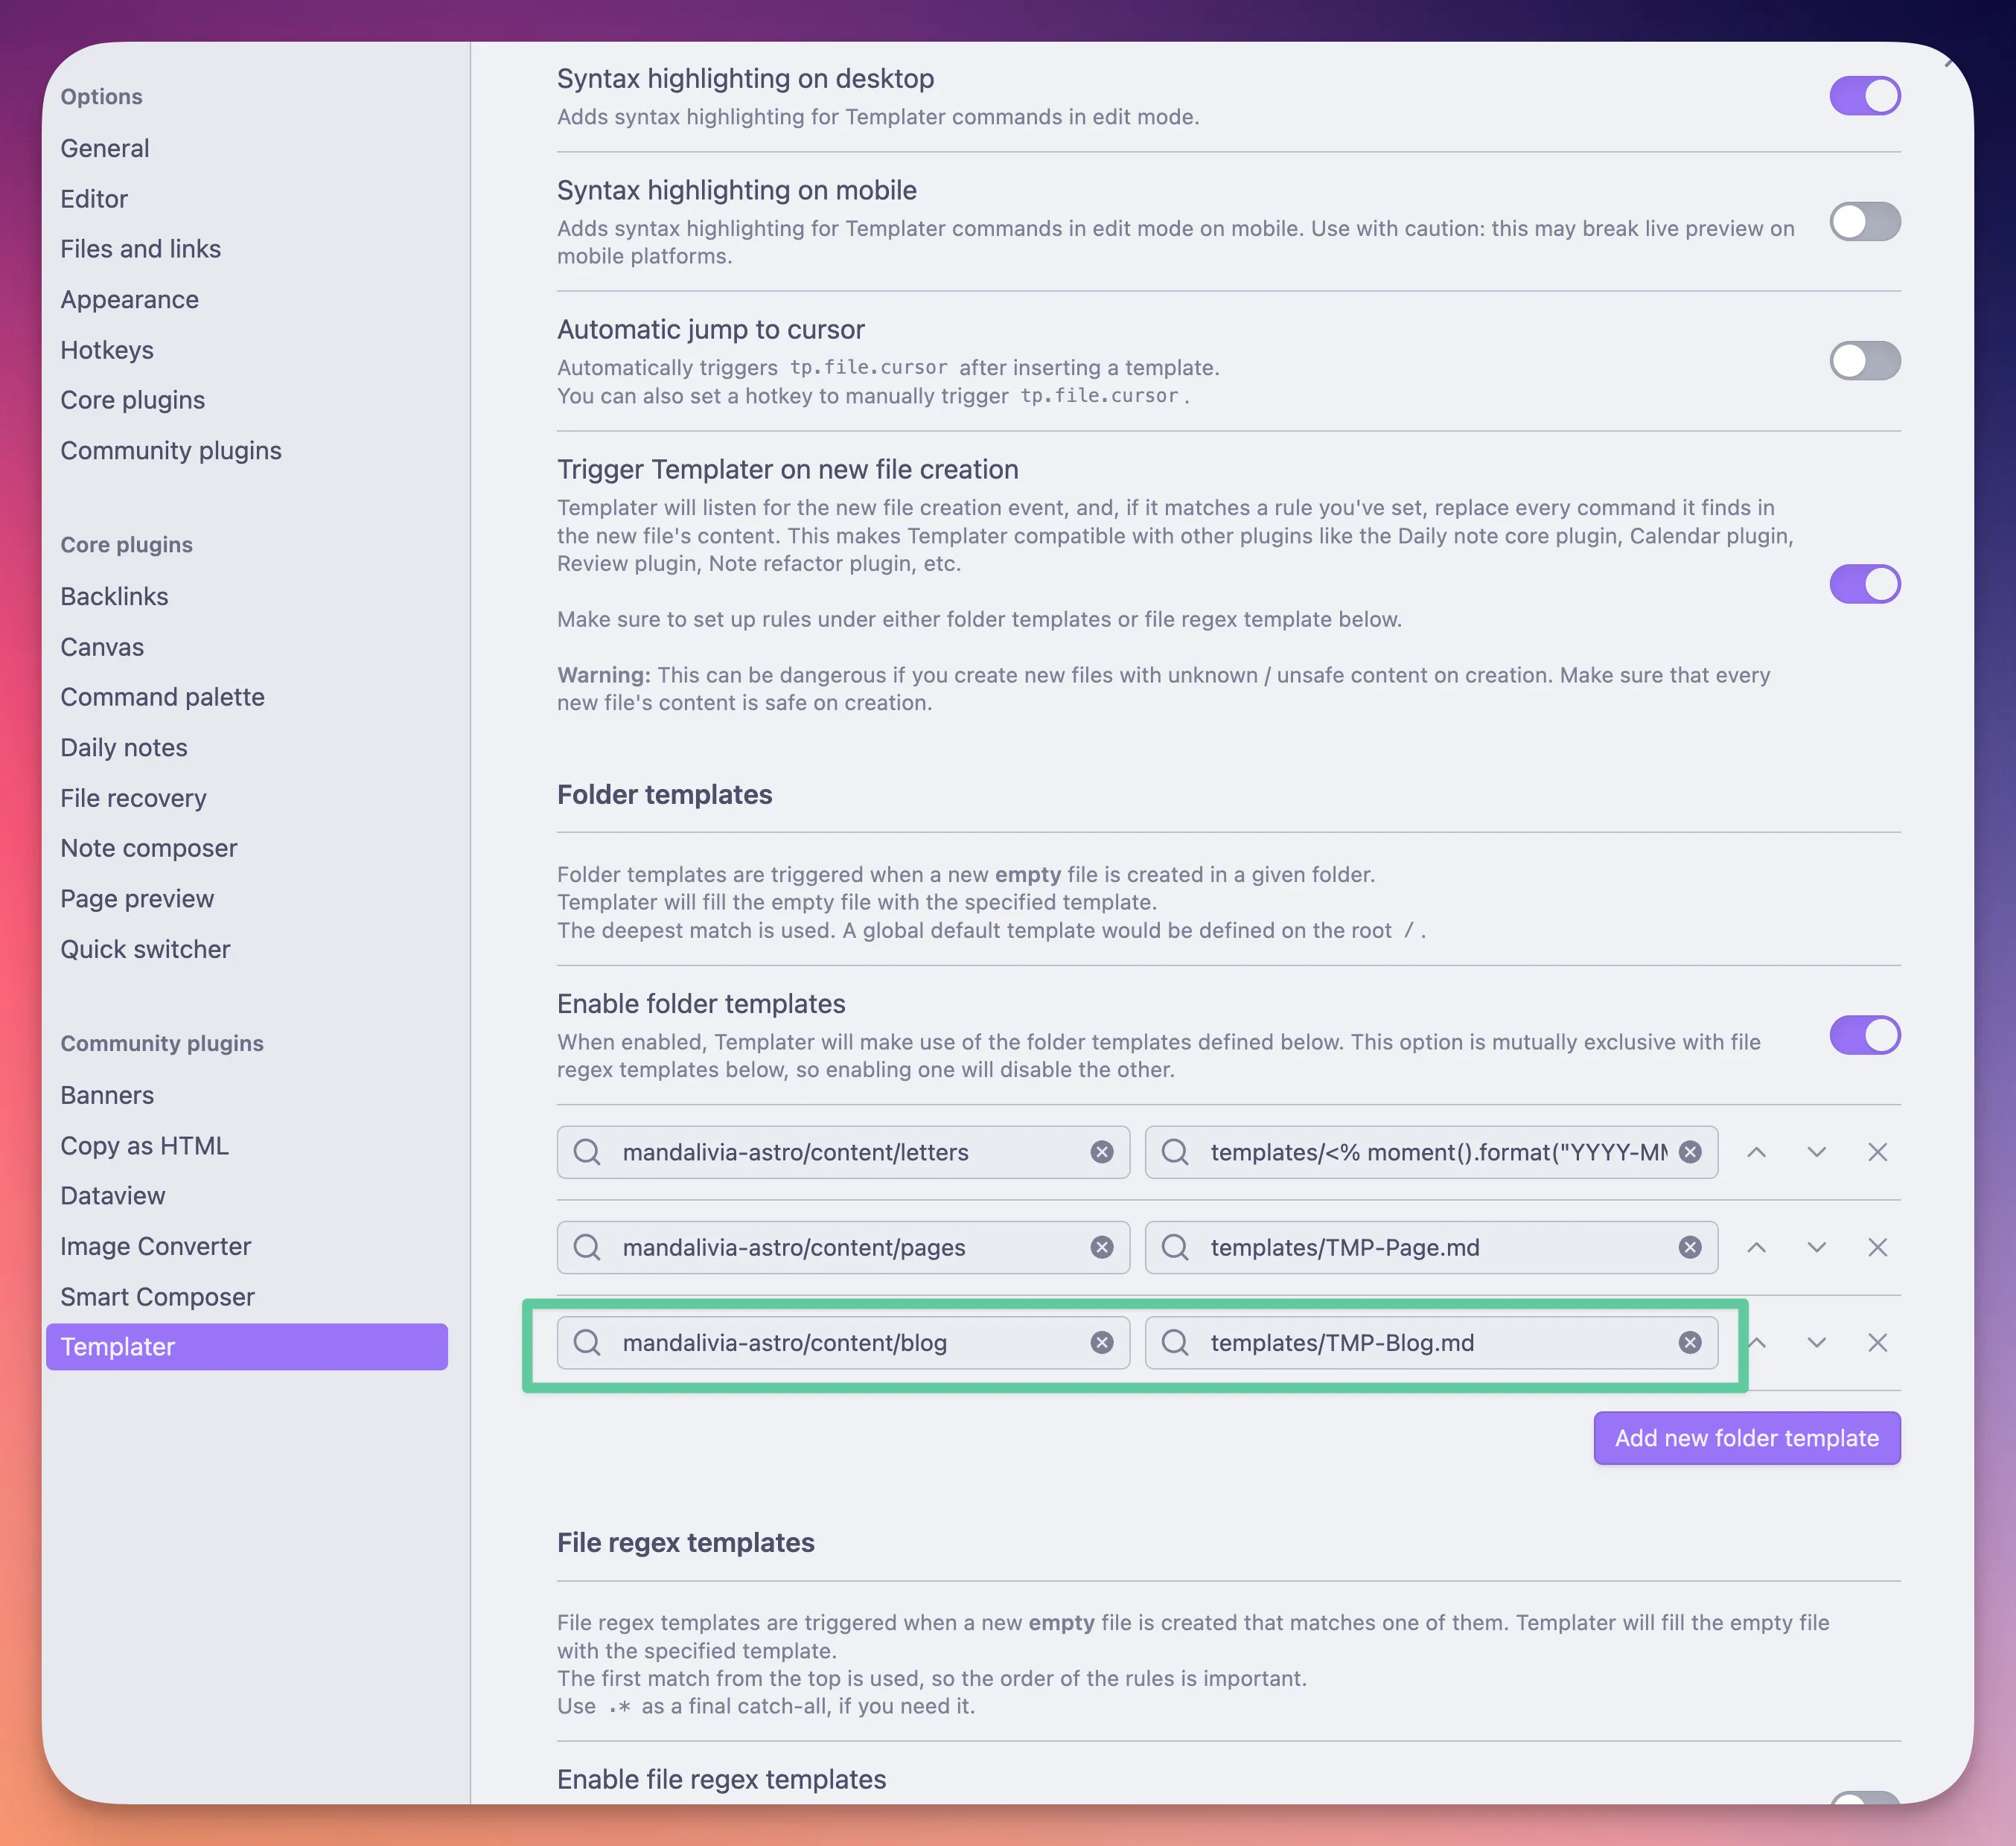
Configure Templater to use this as a folder template:
- Go back to Templater settings
- Scroll down to “Folder Templates”
- Click “Add New Folder Template”
- Set the folder path to
content/blogand template totemplates/TMP-Blog.md
Now when you create a new file in the content/blog folder, it will automatically use your template!

Plugin 2: Image Converter
This plugin automatically converts and optimizes images for the web:
- Search for “Image Converter” in the community plugins browser
- Click “Install”, then “Enable”
- Go to Image Converter settings
- Configure the following settings:
Format: WebP
Quality: 85
Path format: ${notename}/${notename}-${date}.webp
Default path: assets/blog
Plugin 3: Smart Compose
This AI assistant helps with content creation:
- Search for “Smart Compose” in the community plugins browser
- Click “Install”, then “Enable”
- Follow the setup instructions to connect it to your preferred AI service
Plugin 4: DataView
DataView helps organize and track content within Obsidian:
- Search for “DataView” in the community plugins browser
- Click “Install”, then “Enable”
Step 6: Creating Content Templates
Now let’s create more sophisticated templates for different content types. Here’s an expanded blog post template:
---
title: <% tp.file.title %>
excerpt:
publishDate: <% tp.date.now("YYYY-MM-DD") %>
updatedDate: <% tp.date.now("YYYY-MM-DD") %>
draft: true
isFeatured: false
tags:
  -
image: ../../assets/blog/<% tp.file.title %>/<% tp.file.title %>.webp
imageAlt:
---

## Introduction

## Main Content

## Conclusion
Save this as templates/BlogPost.md.
For a page template:
---
title: <% tp.file.title %>
description:
publishDate: <% tp.date.now("YYYY-MM-DD") %>
updatedDate: <% tp.date.now("YYYY-MM-DD") %>
---
Save this as templates/Page.md.
Step 7: Image Handling and Optimization
Setting up an efficient image workflow
With our symlinks and Image Converter plugin, here’s how to handle images:
- Capture or download your image
- Drag and drop the image into your Obsidian note
- The Image Converter plugin will:
- Convert it to WebP format
- Resize it if needed
- Save it to the proper location
- Insert the correct markdown
Image organization strategies
For optimal organization:
- Use consistent naming: The plugin will name files based on your note name
- Create image folders per post: Each post gets its own folder for images
- Add meaningful alt text: Immediately after inserting an image, add alt text for accessibility
Customizing image dimensions
You can specify dimensions right in the markdown:
The |500x300 part tells Obsidian to display the image at that size.
Step 8: Complete Content Creation Workflow
Now that everything is set up, let’s walk through the complete workflow from idea to published post:
1. Planning and outlining
- Create a new note in Obsidian in the
content/blogfolder - The Templater plugin will automatically apply your blog template
- Fill in the frontmatter fields:
- Leave
draft: truewhile working - Add a descriptive title and excerpt
- Set appropriate tags
- Leave
2. Writing and editing
- Write your content using Obsidian’s markdown features
- Use the Smart Compose plugin for assistance with phrasing or ideas
- Insert images by dragging and dropping them into your note
- Use Obsidian’s preview mode to see how your content will look
3. Reviewing and polishing
- Use Obsidian’s built-in spell check or a grammar plugin
- Preview the entire document
- Check for broken links with Obsidian’s link checker
- Make sure all images have alt text
4. Publishing
- Change
draft: falsein the frontmatter - Save the file
- Your Astro site will now include this content when built
Workflow diagram showing the process from idea to published content](../../assets/wonderings/Obsidian%20-%20Astro%20JS/workflow-diagram.webp)
Step 9: Deployment Strategies
Option 1: Netlify deployment
To deploy your Astro site to Netlify:
- Push your Astro project to GitHub
- Connect Netlify to your GitHub repository
- Configure build settings:
- Build command:
npm run build - Publish directory:
dist
- Build command:
Netlify will automatically deploy when you push changes.
Option 2: Cloudflare Pages
For Cloudflare Pages:
- Push your Astro project to GitHub
- In Cloudflare Dashboard, go to Pages and connect your repository
- Configure build settings:
- Build command:
npm run build - Build output directory:
dist
- Build command:
Option 3: GitHub Pages
For GitHub Pages:
- Add the following to your
astro.config.mjs:
export default defineConfig({
  site: 'https://yourusername.github.io',
  base: '/your-repo-name',
  // other configuration
});- Create a GitHub workflow file at
.github/workflows/deploy.yml:
name: Deploy to GitHub Pages

on:
  push:
    branches: [ main ]

jobs:
  build:
    runs-on: ubuntu-latest
    steps:
      - uses: actions/checkout@v3
      - uses: actions/setup-node@v3
        with:
          node-version: 16
      - name: Install dependencies
        run: npm ci
      - name: Build
        run: npm run build
      - name: Deploy
        uses: peaceiris/actions-gh-pages@v3
        with:
          github_token: ${{ secrets.GITHUB_TOKEN }}
          publish_dir: ./dist
Troubleshooting Common Issues
Problem: Images not showing in Obsidian but work on the website
Solution: Ensure your image paths are relative and consistent. Check that Image Converter settings use the correct path format.
Problem: Frontmatter not being processed correctly
Solution: Verify your frontmatter format. Ensure there are spaces after the colons and that the YAML is valid.
Problem: Symlinks not working
Solution:
- Try creating the symlinks again with absolute paths. On Mac, you can get the absolute path by dragging a folder into Terminal.
- Check if you have permission issues - you may need to run Terminal with administrator privileges.
- Ensure you’re not creating circular symlinks (pointing to folders within the vault).
- Consider using one of the alternative approaches mentioned if symlinks continue to cause issues.
Problem: Astro build fails
Solution: Check your Astro error logs. Common issues include:
- Invalid frontmatter
- Missing fields that are required in your content schema
- Broken image links
Problem: Sync conflicts with symlinked folders
Solution:
- Avoid using sync services that might interfere with symlinked content
- Consider using the scripted sync approach instead of symlinks
- Ensure you’re not syncing the same content through multiple paths
Advanced Techniques
Using MDX for interactive content
If you want to include React or Vue components in your content:
- Install the MDX integration:
npm install @astrojs/mdx- Add it to your
astro.config.mjs:
import mdx from '@astrojs/mdx';

export default defineConfig({
  integrations: [mdx()],
  // other configuration
});- Create content with
.mdxextension
Creating content collections
For better organization, you can use Astro’s content collections:
- Create collection schemas in
src/content/config.ts:
import { defineCollection, z } from 'astro:content';

const blog = defineCollection({
  schema: z.object({
    title: z.string(),
    excerpt: z.string(),
    publishDate: z.date(),
    updatedDate: z.date().optional(),
    draft: z.boolean(),
    tags: z.array(z.string()),
    image: z.string().optional(),
    imageAlt: z.string().optional(),
  }),
});

export const collections = { blog };- Access collections in your Astro templates:
---
import { getCollection } from 'astro:content';
const publishedPosts = await getCollection('blog', ({ data }) => {
  return !data.draft && data.publishDate < new Date();
});
---
Alternative Approaches
While the symlink approach offers a seamless experience, there are alternatives that avoid the potential issues with symlinks:
Option 1: Obsidian-to-Astro Sync Script
Rachel Smith’s obsidian-to-astro-sync provides a Node.js script to sync notes with a specific property to your Astro content folder.
Pros:
- More control over which notes get published
- Can transform content during sync
- Avoids the potential risks of symlinks
- Works well with Obsidian Sync or other sync services
Cons:
- Requires running a script
- Not real-time like symlinks
- Additional setup required
To use this approach:
- Clone the repository
- Configure paths in the config file
- Run the script to sync content
- Consider automating the sync with a scheduled task
Option 2: Manual Export Workflow
For those who want to avoid any automation:
- Maintain separate Obsidian and Astro folders
- Write content in Obsidian
- When ready to publish, manually copy markdown files to the Astro content directory
- Copy associated images to the assets folder
Pros:
- Complete separation means no risk of conflicts
- No technical setup required
- Works with any sync service
Cons:
- Manual process introduces friction
- Potential for copy errors
- Need to remember to transfer updated content
Option 3: Obsidian Digital Garden Plugin
For a more automated approach, you can use the Digital Garden plugin.
Pros:
- Publish directly from Obsidian
- Includes site templates
- Avoids symlink issues
Cons:
- Less customization than a full Astro site
- Limited to the templates provided
Conclusion
By combining Obsidian’s powerful knowledge management with Astro’s modern web development approach, you’ve created a seamless content workflow that’s:
- Efficient: Create content in one place
- Powerful: Leverage the best tools for each job
- Flexible: Customize every aspect of your site
- Future-proof: Based on standard markdown files
While the symlink approach provides the most seamless integration, it’s important to be aware of its limitations as documented by Obsidian. Choose the workflow that best fits your comfort level with technical risk and your specific requirements.
If you experience any issues with symlinks, remember that alternative approaches like dedicated sync scripts can provide similar benefits with potentially fewer risks.
This setup gives you the best of both worlds: Obsidian’s excellent writing environment and Astro’s powerful web capabilities, all without duplicating effort or complicating your workflow.
Happy writing and publishing!